
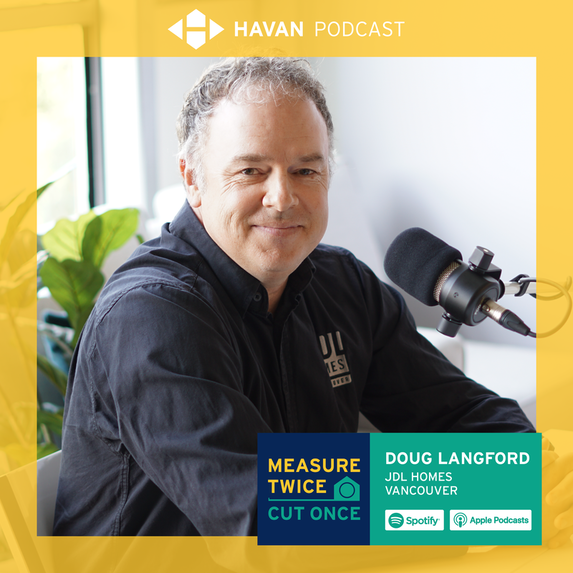
#HAVANSpotlight Interview with Doug Langford of JDL Homes Inc.!
Plus: Doug's episode of 'Measure Twice, Cut Once', talking high performance homes!
Tell us about yourself & your company?
Doug: Aside from the day to day running of JDL Homes, I am client facing in sales, estimating, contract writing and involved in the Project Management of all of our projects.
How did you get into the residential construction industry?
Doug: My Brother Jeff Langford and I started the company after renovating one of our own houses, which lead to us renovating a neighbours house, then another and another and before long we had a company up and running.
What keeps you in the industry?
Doug: I am always learning new things. It is an exciting business.
While navigating covid-19, what new opportunities have you discovered?
Doug: Covid-19 opened up new ways to stream line the company and work more efficiently.
It’s 11AM Saturday morning, what are you up to?
Doug: I could be Gardening, Snowboarding, Camping, paddle boarding or generally anything else to do with the outdoors. & fishing.
What are your hobbies?
Doug: Gardening, cooking especially after Covid.
Favourite HAVAN moment and why?
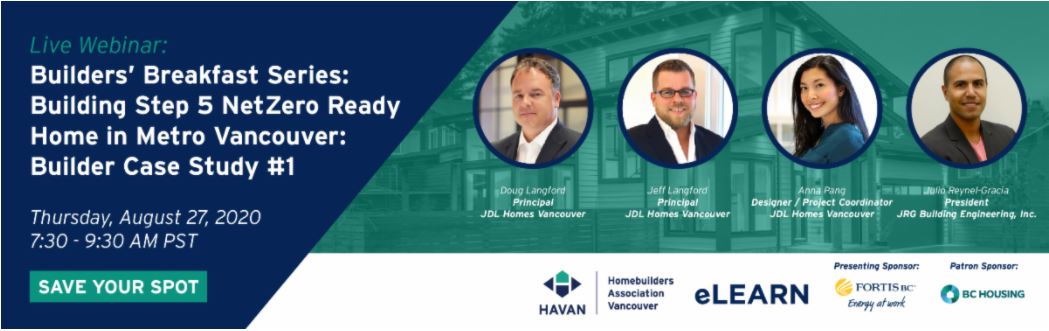
Doug: Sharing our research and work in a step 5 NetZero ready Home. I believe we all need to be building to this standard as soon as we can.
Last book read / movie watched?
Doug: Handmaids Tale.
Last HAVAN Member you connected with?
Doug: Mark Cooper, Shakespeare Homes and Renovations.
Pets?
Doug: Yes, a Shiba Inu named Kaya.
Proudest moment?
Doug: Receiving our first Ovation Award (now HAVAN Award) for a large character renovation in Vancouver.
Netflix guilty pleasure?
Doug: Most cooking shows.
Last piece of advice you have received?
Doug: Never let a good crisis go to waste.
Starbucks order?
Doug: Americano with room for cream.
Where were you born?
Doug: Warkworth Ontario
Favourite holiday / destination?
Doug: Africa
Does pineapple belong on pizza?
Doug: Absolutely.
First concert?
Doug: Sting
Where can we find you on social media?
Doug: Instagram: @jdlhomesvan
Source: Homebuilders Association Vancouver
Plus: Doug's episode of 'Measure Twice, Cut Once', talking high performance homes!
Tell us about yourself & your company?
Doug: Aside from the day to day running of JDL Homes, I am client facing in sales, estimating, contract writing and involved in the Project Management of all of our projects.
How did you get into the residential construction industry?
Doug: My Brother Jeff Langford and I started the company after renovating one of our own houses, which lead to us renovating a neighbours house, then another and another and before long we had a company up and running.
What keeps you in the industry?
Doug: I am always learning new things. It is an exciting business.
While navigating covid-19, what new opportunities have you discovered?
Doug: Covid-19 opened up new ways to stream line the company and work more efficiently.
It’s 11AM Saturday morning, what are you up to?
Doug: I could be Gardening, Snowboarding, Camping, paddle boarding or generally anything else to do with the outdoors. & fishing.
What are your hobbies?
Doug: Gardening, cooking especially after Covid.
Favourite HAVAN moment and why?
Doug: Sharing our research and work in a step 5 NetZero ready Home. I believe we all need to be building to this standard as soon as we can.
Last book read / movie watched?
Doug: Handmaids Tale.
Last HAVAN Member you connected with?
Doug: Mark Cooper, Shakespeare Homes and Renovations.
Pets?
Doug: Yes, a Shiba Inu named Kaya.
Proudest moment?
Doug: Receiving our first Ovation Award (now HAVAN Award) for a large character renovation in Vancouver.
Netflix guilty pleasure?
Doug: Most cooking shows.
Last piece of advice you have received?
Doug: Never let a good crisis go to waste.
Starbucks order?
Doug: Americano with room for cream.
Where were you born?
Doug: Warkworth Ontario
Favourite holiday / destination?
Doug: Africa
Does pineapple belong on pizza?
Doug: Absolutely.
First concert?
Doug: Sting
Where can we find you on social media?
Doug: Instagram: @jdlhomesvan
Source: Homebuilders Association Vancouver


 RSS Feed
